Browse by Product
Select a Product Category
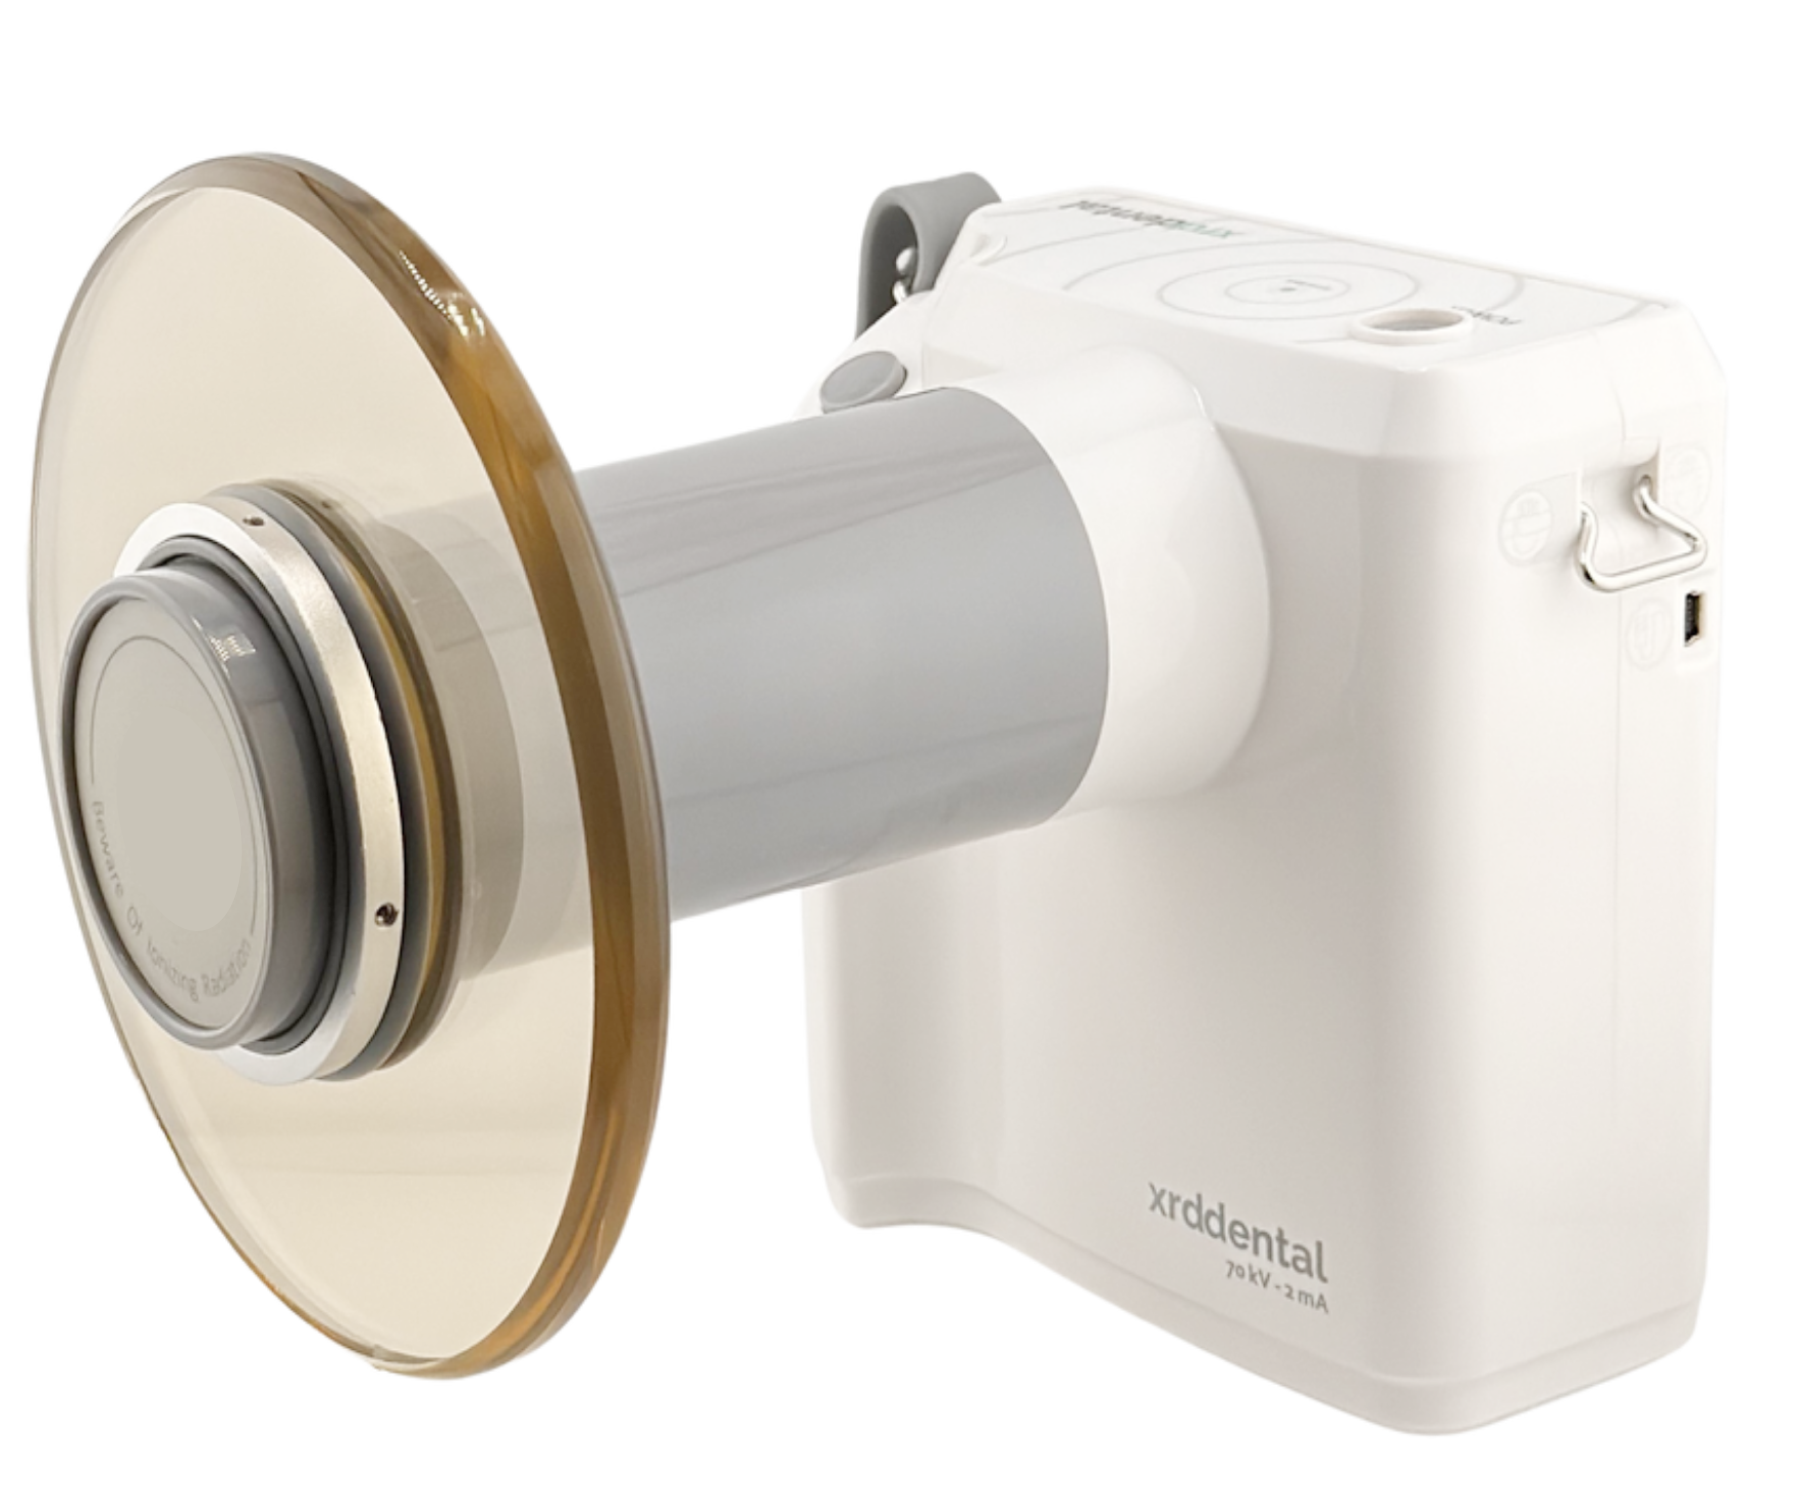
Portable X-Ray
XRD 70
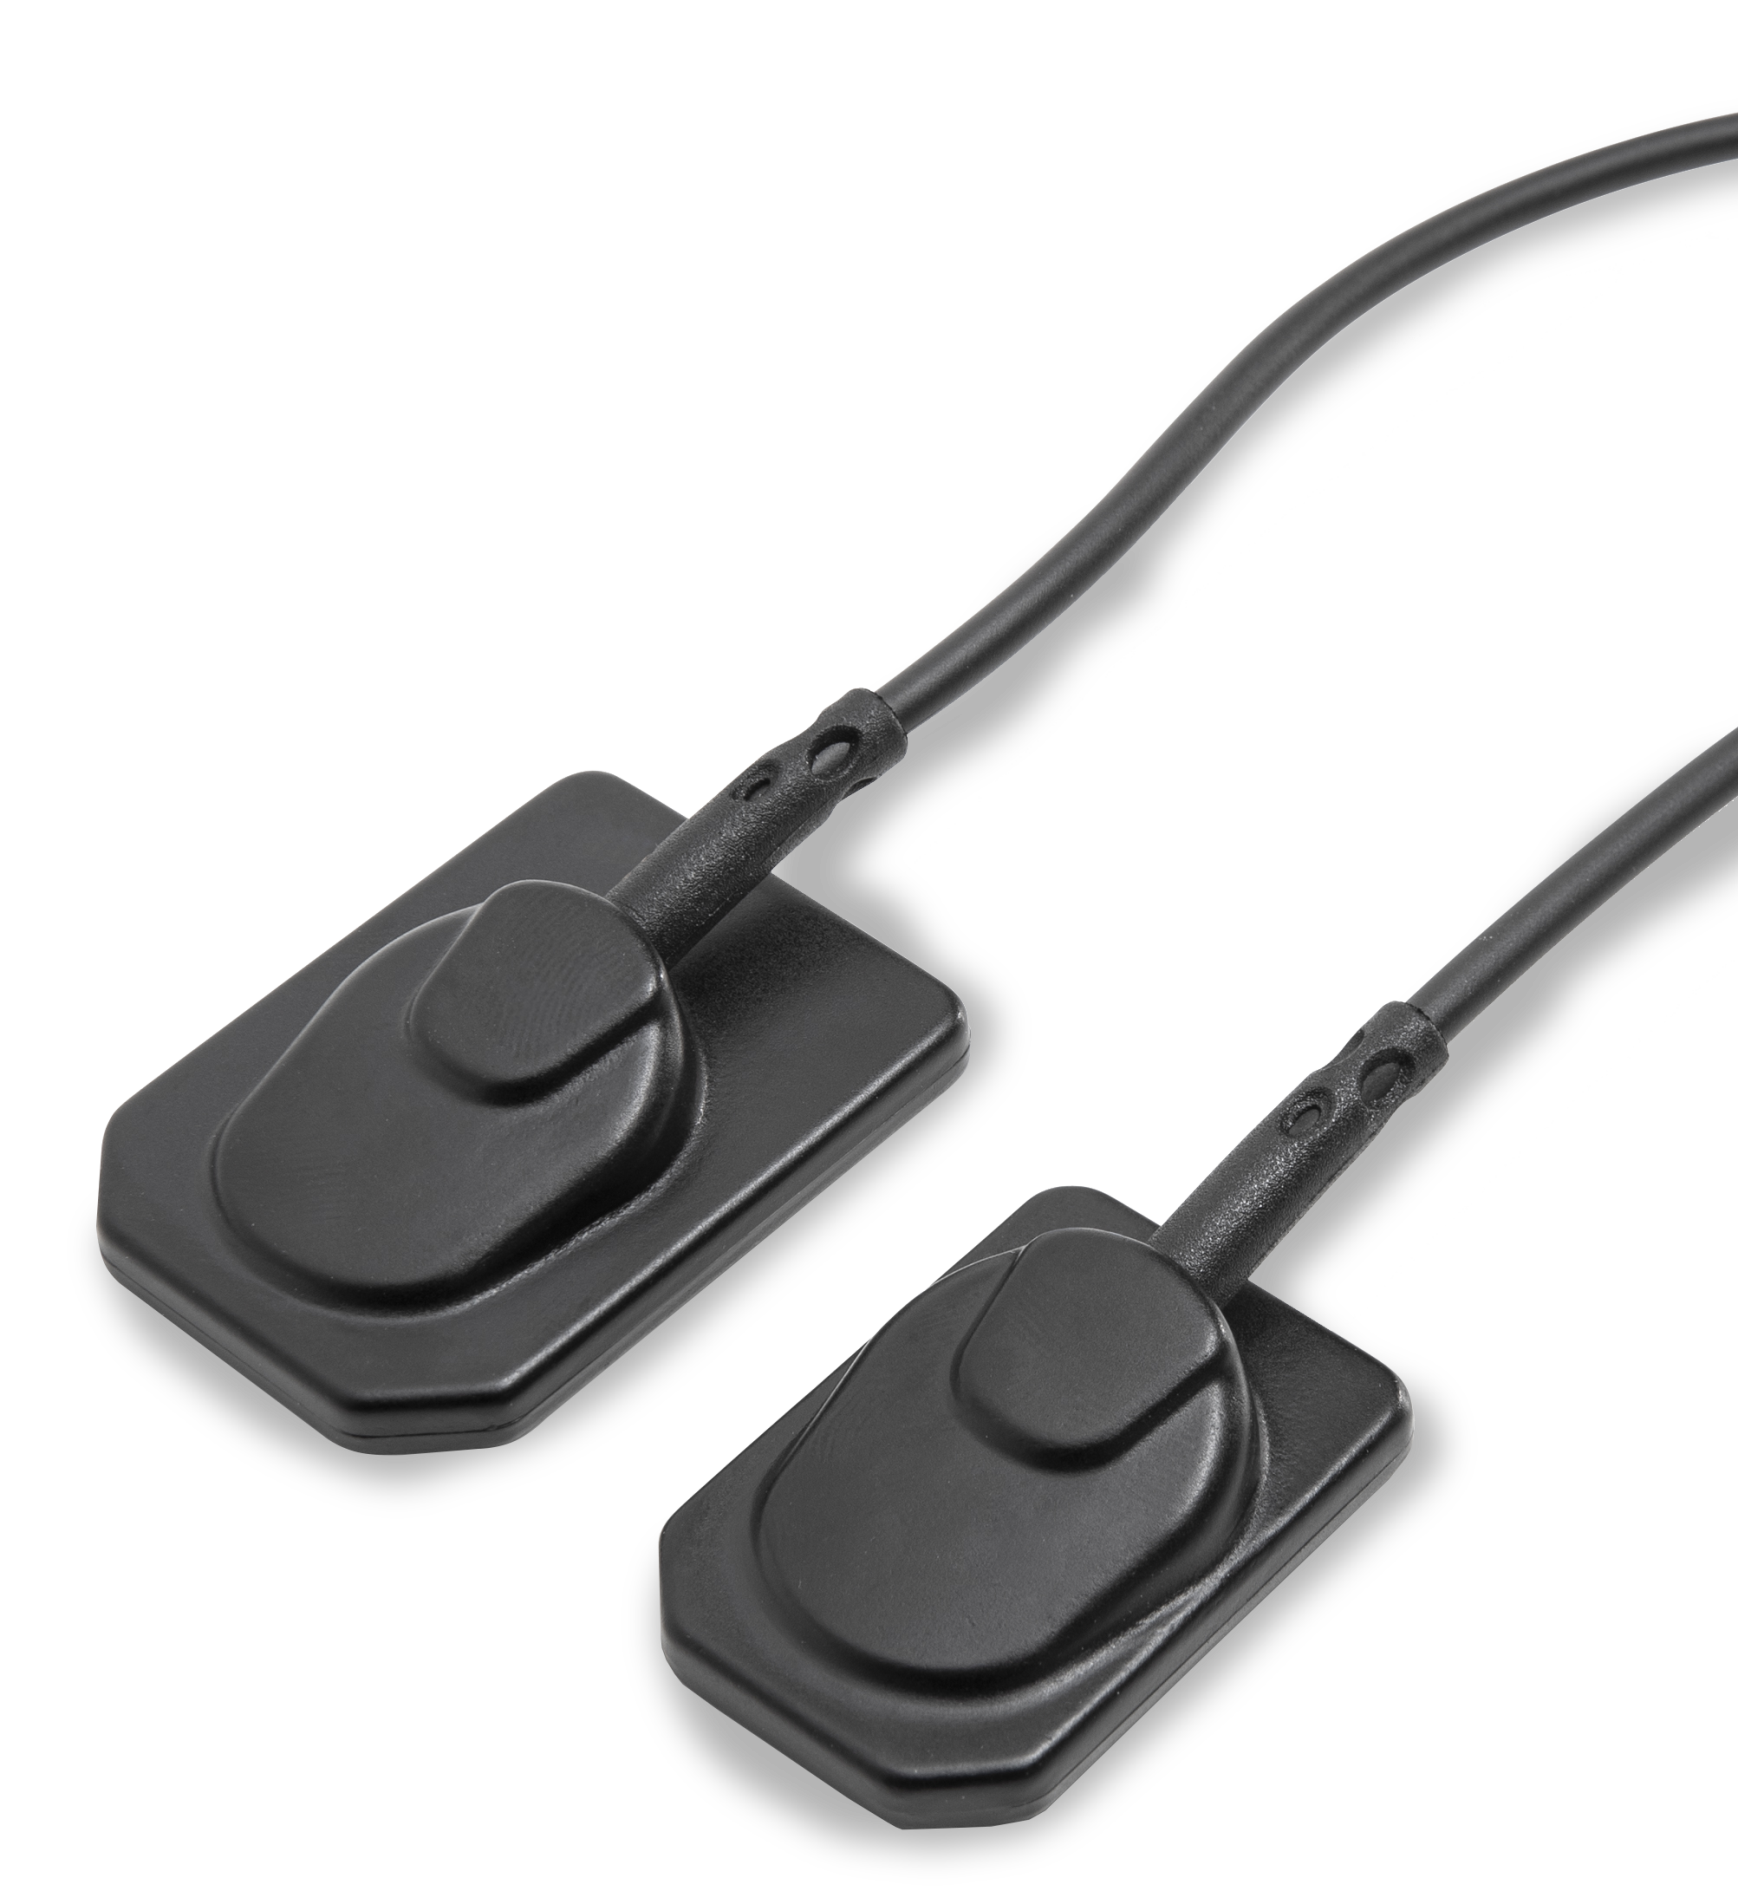
Intraoral Sensor
Imagen Sensor
Coming soon
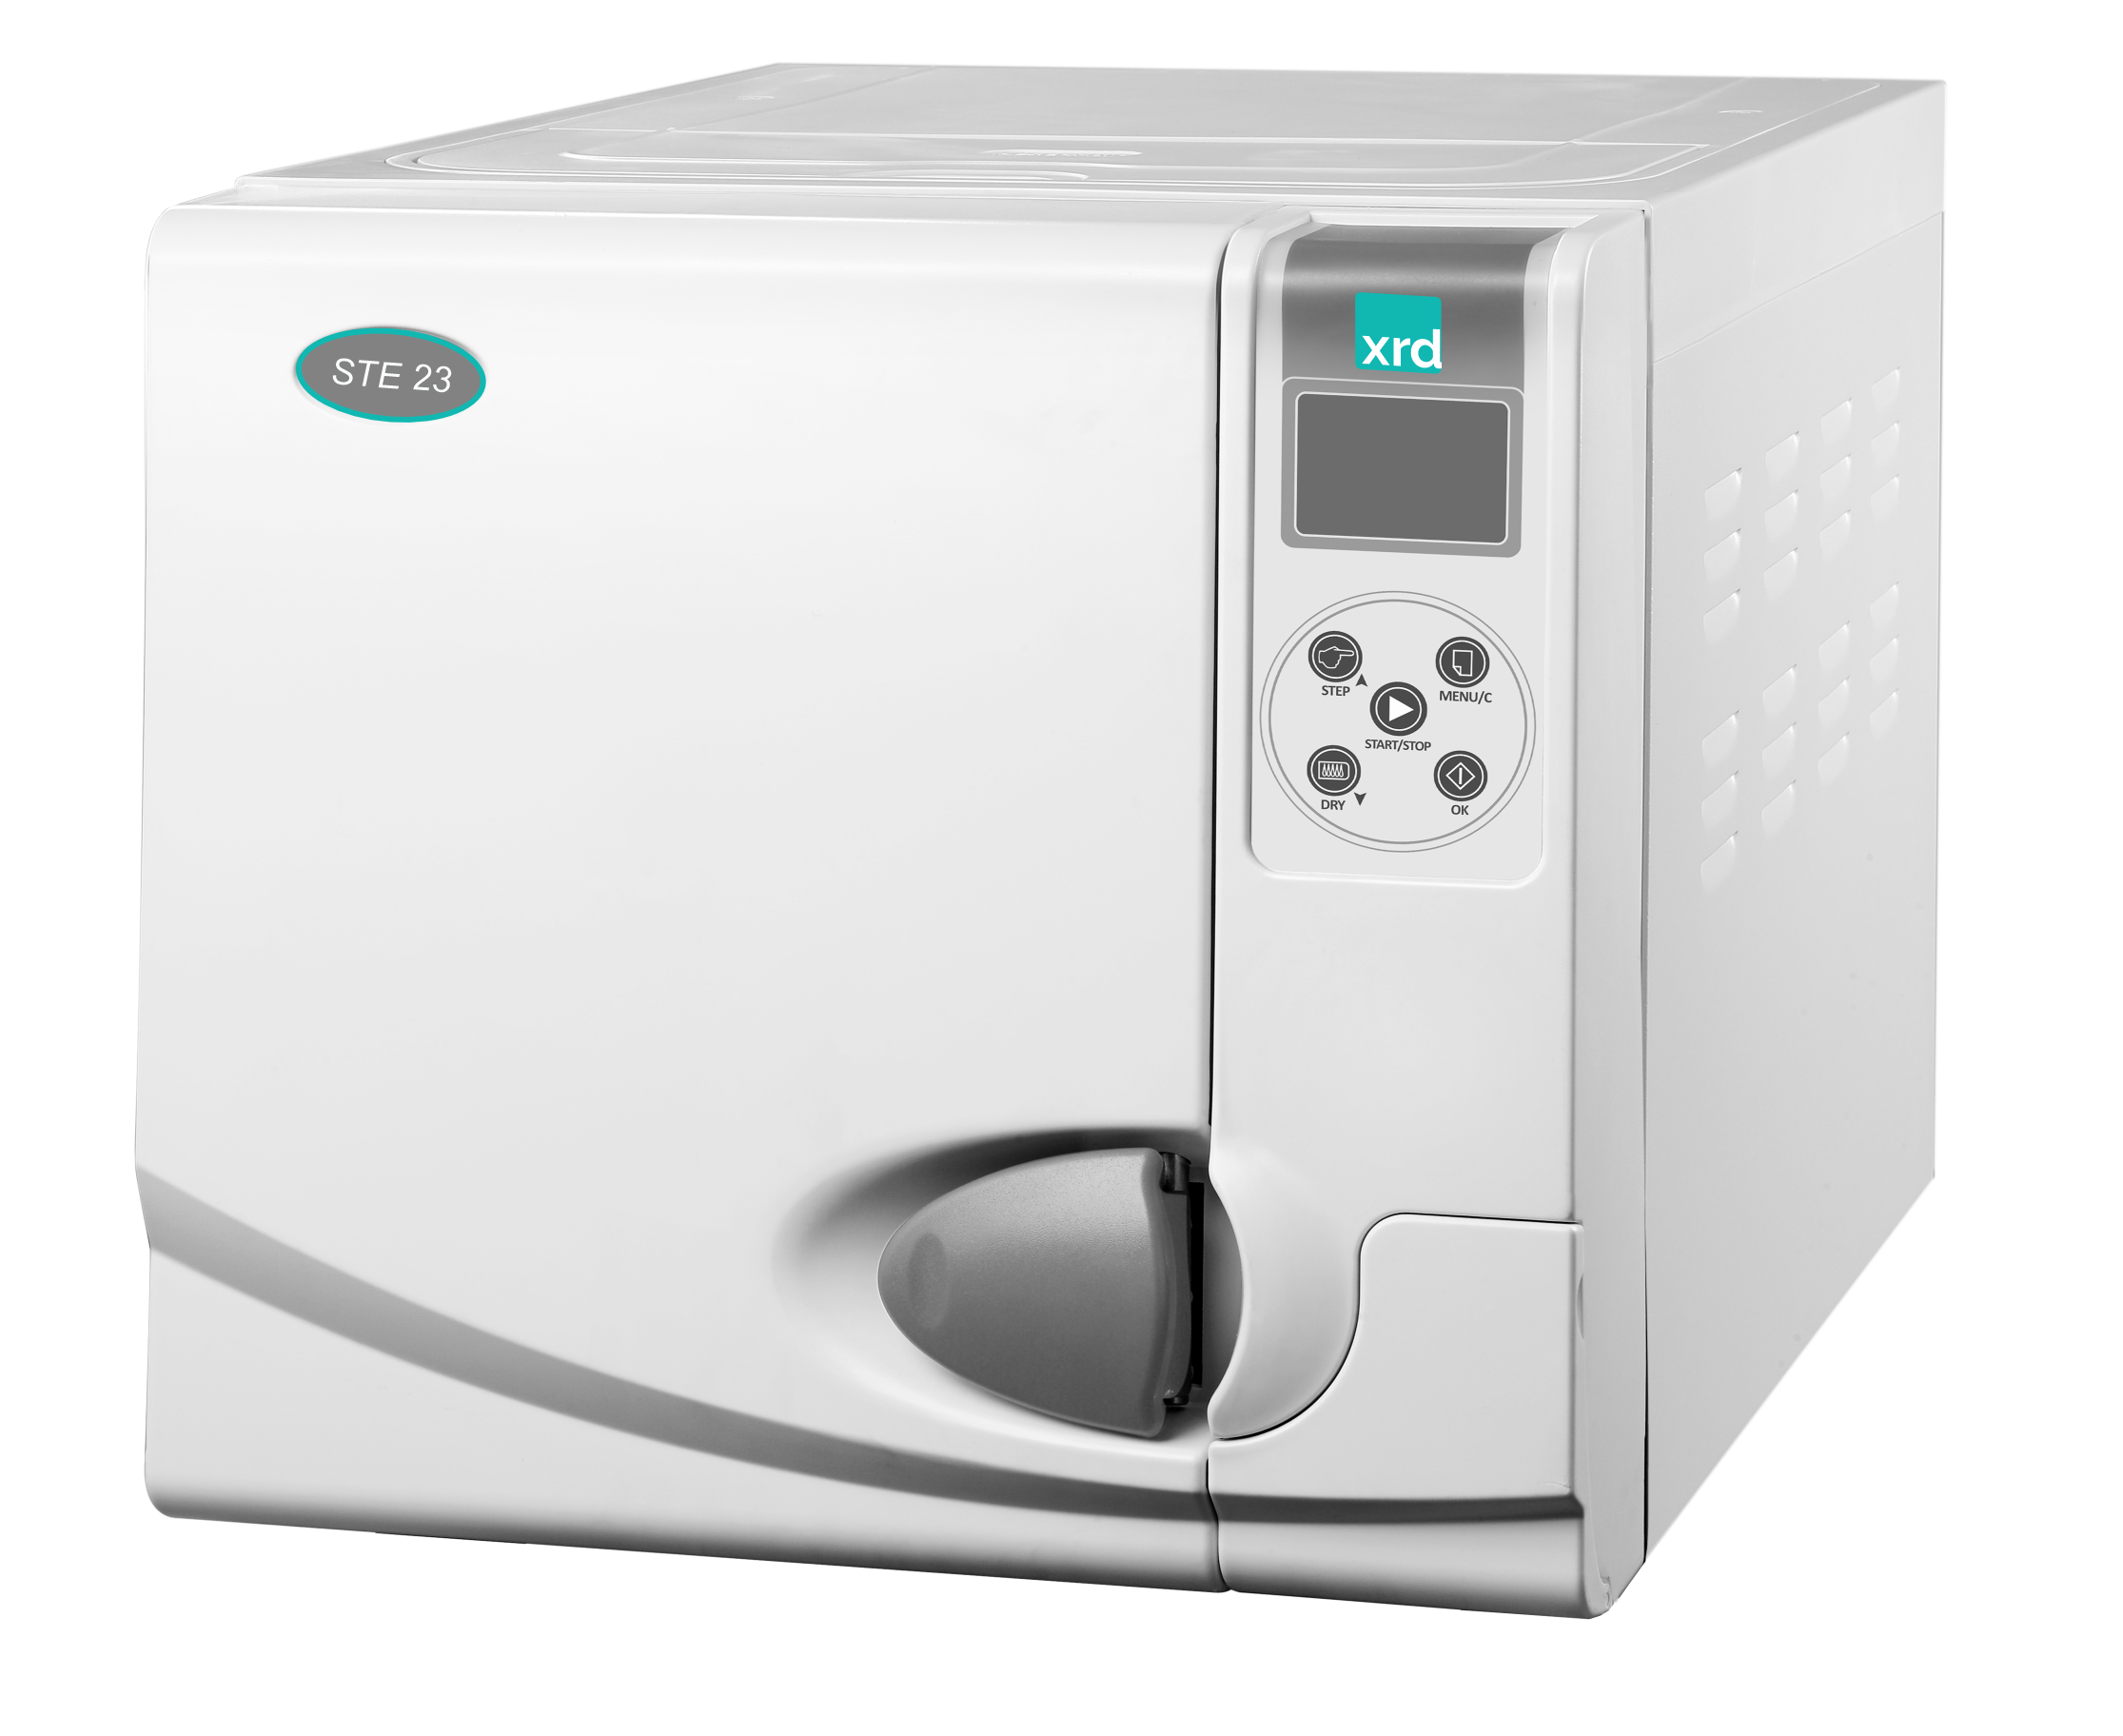
Steam Sterilizer
Autoclave STE23
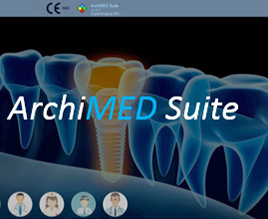
Imaging Software
ArchiMED Suite 5
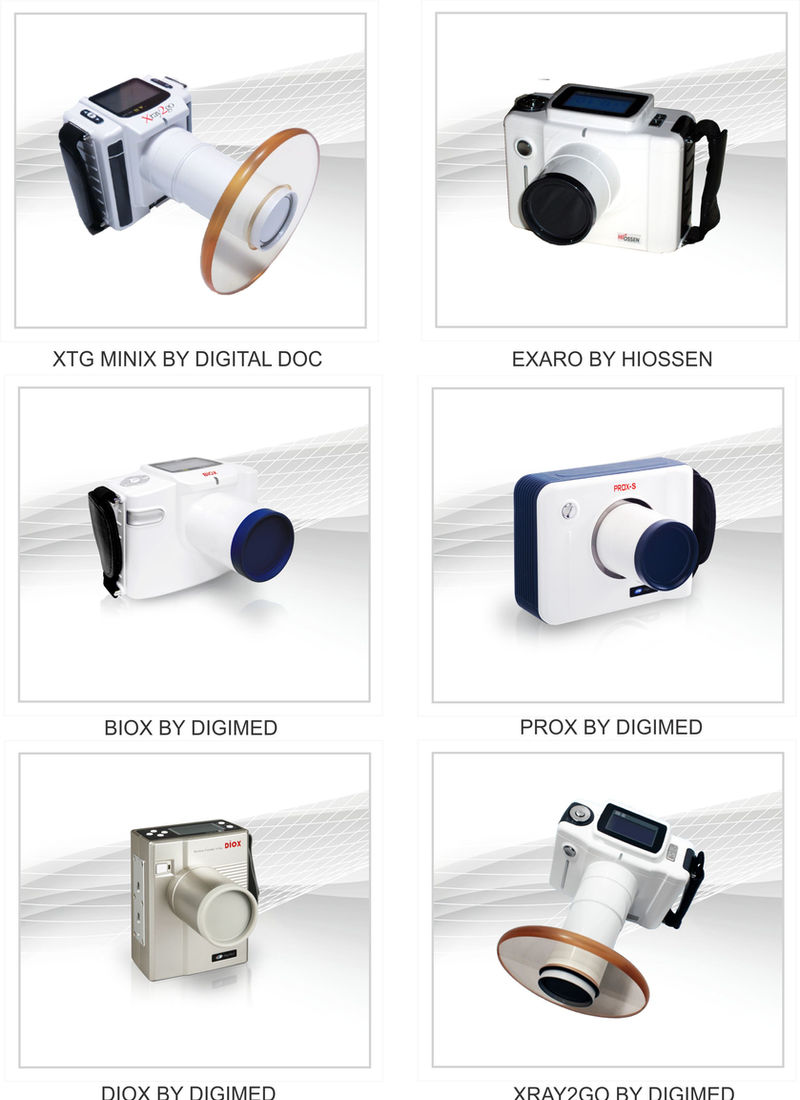
Third-Party Portables
Digimed & Digital Doc